
Ashley's Apple Pie
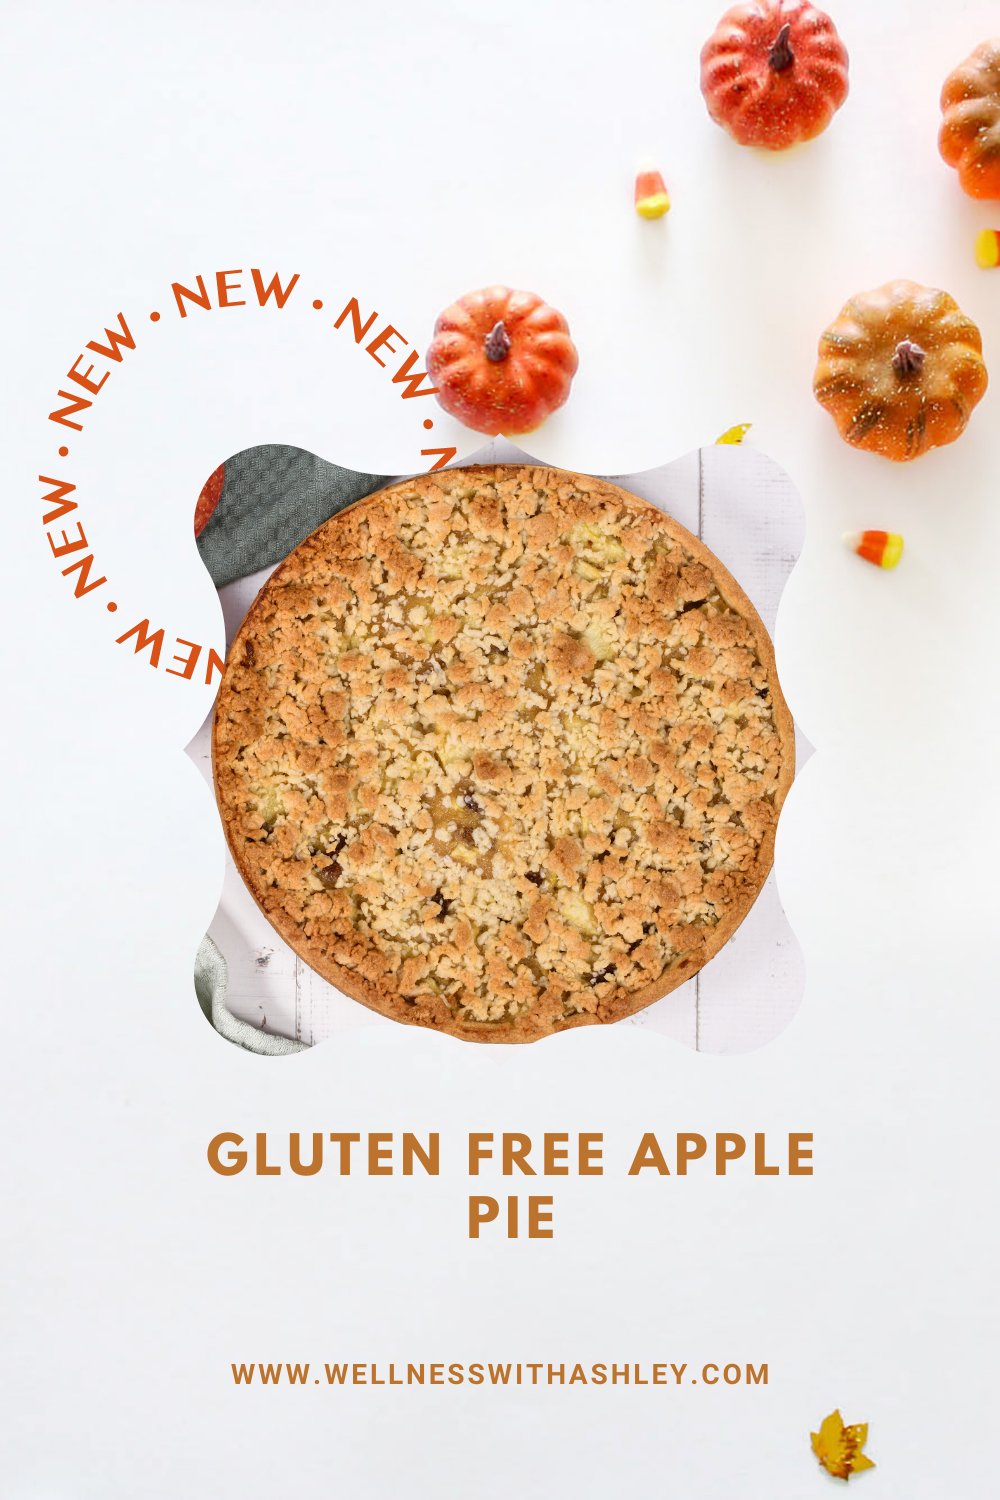
I’ve been making this apple pie for probably two decades. It is so amazing and definitely one of my favorites. When I started making it, I used the Better Homes and Garden’s Apple Crumble Pie recipe. This is my gluten free take on that recipe!
It also makes an amazing breakfast choice for the day after Thanksgiving. Pair with your favorite cup of coffee or tea!
If you’d like to make your own gluten free pie crust, here’s a recipe that I really like (also adapted from the Better Homes and Gardens recipe):
1 1/2 cups gluten free flour (King Arthur brand)
1/2 cup shortening
4-5 tablespoons of cold water
You’ll cut in the shortening to the flour by using a fork, pastry blender, or your hands. once you get a crumbly mixture. Then you’ll slowly add water about a tablespoon at a time until the entire mixture is mixed enough to form a a ball.
From here, you’ll roll it out into a circle that is about 1/8 to 1/4 inch thick and transfer to your pie pan. You’ll gently push the dough down into bottom of the pan and make sure it is nice and flat. Then, you can pinch the edges to give it that pretty pie and trim the excess!
Gluten free pre-made pie crust (my choice!) or a homemade pie crust from the recipe above.
5-7 Honey Crisp Apples
1/2 cup raw or coconut sugar
1 1/2 teaspoon cinnamon
For the crumble topping:
1/2 cup raw or coconut sugar
3/4 cup gluten free flour
1/3 cup butter or ghee
1/4 teaspoon cinnamon
1/8 teaspoon nutmeg
Peel and slice your apples.
Mix 1/2 cup sugar and 1 1/2 teaspoon cinnamon together and sprinkle evenly on top of apples and toss to coat all of the apple slices.
Put mixture into the pie crust and make sure it is nice a full.
Mix 1/2 cup sugar, 3/4 cup gluten free flour, cinnamon, and nutmeg together. Then cut in the butter or ghee until crumbly.
Sprinkle crumble mixture on top of the apples. You’ll want a nice even topping here.
Cover crust edges with a foil or silicone pie crust collar. To make a foil collar, tear off a longer piece of foil, then tear it in half long ways, put the two pieces together and crimp along one of the shorter edges (you’re making a long, narrow piece of foil). Then you’ll wrap this around the outside of the pie pan so the crust is protected from direct heat.
This allows the pie to bake and allow you to avoid an overdone pie crust!
Put onto a baking sheet and bake at 400 degrees for about 40 minutes or until the top is golden brown and cooked through. About 5-10 minutes before the pie is finished, you can remove your foil collar to let the crust brown up a bit!
Let cool, then enjoy!